Getting started with Elthian AI Licensing Lite is straightforward. Follow these steps:
- Search and Install via WordPress Dashboard:
- Log in to your WordPress admin panel.
- Go to Plugins > Add New.
- Search for “Elthian AI Licensing”.
- Click Install Now on the plugin card, then Activate.
- Manual Upload (Alternative):
- Download the ZIP file here
- In your dashboard, go to Plugins > Add New > Upload Plugin.
- Select the ZIP, click Install Now, then Activate.
- Verify Activation:
- After activation, you’ll see a new menu item: Settings > AI Licensing.
- If it’s your first install, the onboarding wizard will launch automatically.
Requirements: WordPress 6.0+, PHP 7.4+. Tested up to WP 6.9.1
Troubleshooting Tip: If signals like llms.txt don’t appear, flush your permalinks (Settings > Permalinks > Save Changes) or check for conflicts with caching plugins.
Onboarding
Once installed, you will automatically be redirected to the Onboarding Wizard. If not, it should automatically open by
Lite’s onboarding wizard makes setup effortless:
- Welcome Screen: After activation, you’ll be redirected to the onboarding wizard (or access it via Settings > Elthian AI Licensing if skipped).
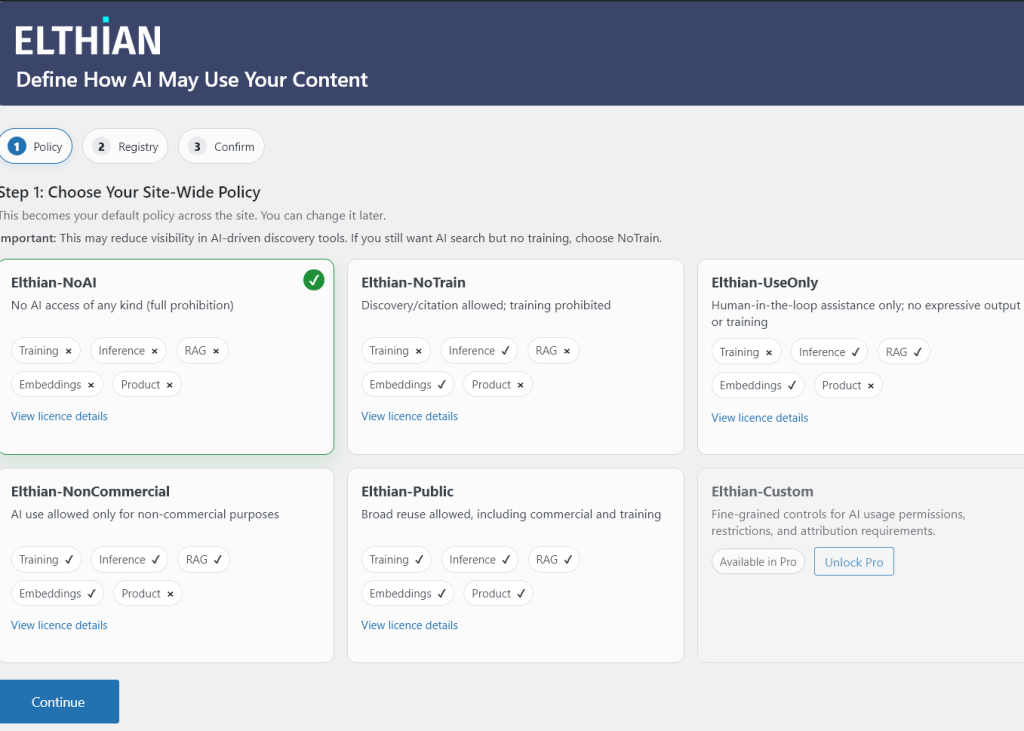
- Step 1: Choose Your Policy: Select a global license from the dropdown (e.g., Elthian-NoTrain for allowing AI search but no training).
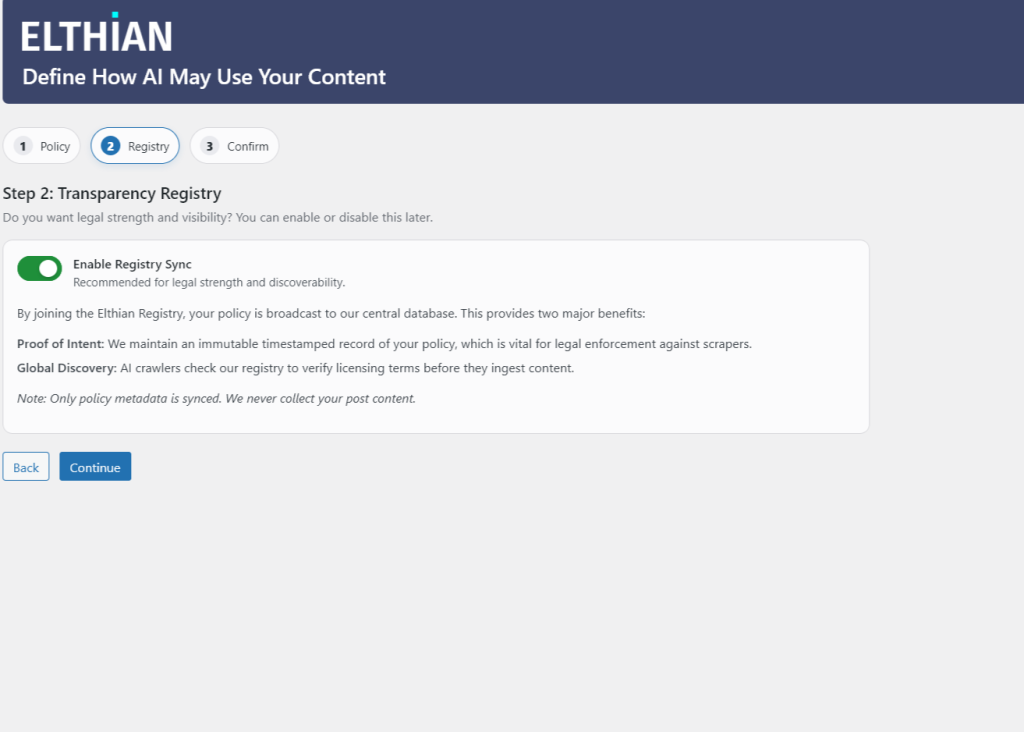
- Step 2: Choose sync status: Let us know whether you would like to sync your license status with our servers (off by default).
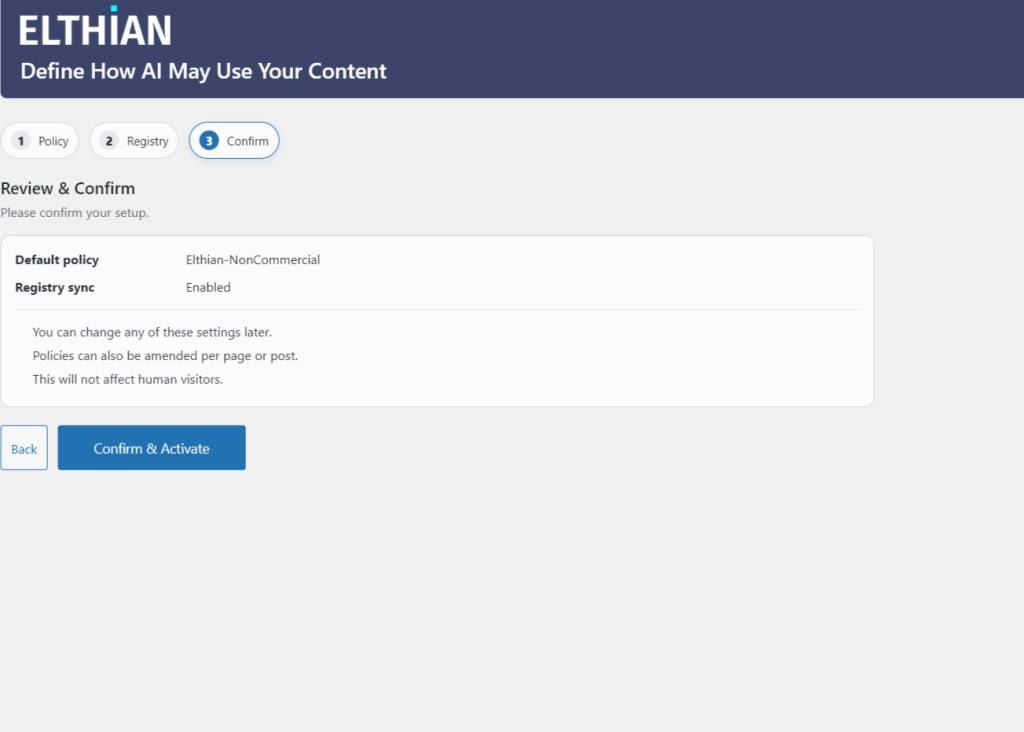
- Finish & Save: Click “Complete Setup” — your signals are live! You’ll be redirected to the main settings for fine-tuning.
The wizard takes ~30 seconds. If you need to rerun it, deactivate/reactivate the plugin (data is preserved).